Test & Measurement
True 3D Coplanarity Inspection Increases Production Yield
Adaptsys has announced the availability of true 3D optical coplanarity inspection for V-TEK taping machines. By inspecting parts prior to taping, manufacturing defects such as lead burr and coplanarity problems caused by handling of parts can be identified and parts rejected before they cause a board to fail. The increased manufacturing yield and reduction in subsequent failures offer substantial savings for electronics equipment manufacturers.
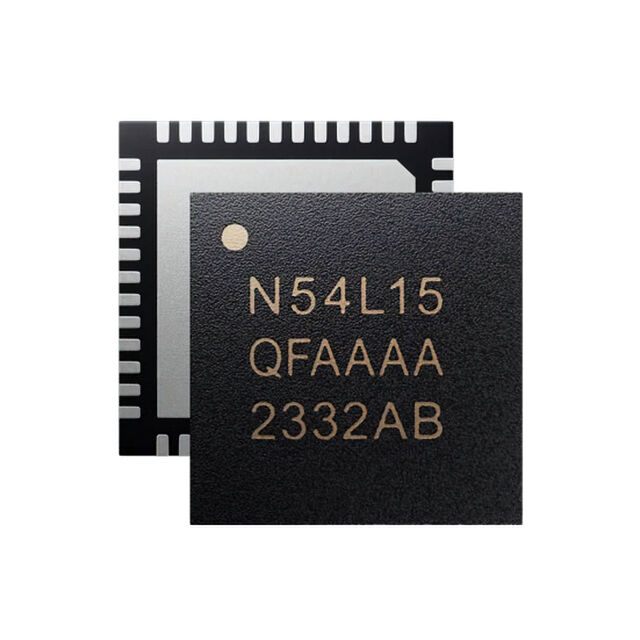
UnliCoplanarity problems can cause solder joints to fail during manufacture, or reduce system reliability in the field. The most common cause is due to handling of devices – particularly in a programming process – leads can become bent, and solder balls can be squashed, sliced or sheared. Device manufacturing can also cause coplanarity problems through burr on device leads or poorly formed solder balls in a BGA package. Adaptsys has found that in a typical manufacturing process around 1% of devices inspected will have unacceptable coplanarity that could cause failures. Some industries, most notably automotive, demand that manufacturers can inspect 100% of devices for coplanarity prior to pick and place.
Optimised for use with V-TEK taping machines, the optical coplanarity inspection ensures that all devices fall within the coplanarity tolerances before pick and place. In addition to coplanarity measurement, the system also offers inspection of lead pitch and slant, checking of marking and part orientation as well as inspecting the packaging for cracks and other faults, further increasing the quality of the production process.


