
Raspberry Pi supercomputer building guide: create your own cluster
A Raspberry Pi supercomputer, or cluster, is an exciting and cost-effective way to get into the world of parallel computing. By combining several Raspberry Pi boards, like the Raspberry Pi 5, you can create a powerful computing environment capable of performing complex calculations and running parallel tasks.
This project has educational benefits, providing hands-on experience with computer networking, system administration, and distributed computing, and serves practical purposes in research and development. This guide will take you through the process of building your own Raspberry Pi supercomputer from scratch.
Materials needed
To build a Raspberry Pi supercomputer, you'll need the following components as a minimum:
- Raspberry Pi boards: A minimum of four Raspberry Pi 4 boards is recommended for a basic cluster. You can scale up the number of boards depending on your performance requirements.
- MicroSD cards: One for each Raspberry Pi, with at least 16GB storage. You'll need to install the operating system on these cards.
- Ethernet switch: To connect all the Raspberry Pi boards to a local network. A Gigabit Ethernet switch is recommended for better performance.
- Ethernet cables: Enough to connect each Raspberry Pi to the switch.
- Power supply: One USB-C power supply per Raspberry Pi. Consider a power strip with multiple USB ports for convenience.
- Cooling system: Heat sinks and fans for each Raspberry Pi to prevent overheating during intensive tasks.
- Case or rack: A mounting solution to organise the Raspberry Pi boards. You can purchase a dedicated cluster case or create a custom rack.
Hardware setup
- Prepare the Raspberry Pi boards: Start by attaching heat sinks and fans to each Raspberry Pi board. This helps in keeping the boards cool during operation. Insert the microSD cards into the Raspberry Pi boards.
- Connect the Raspberry Pi boards to the network: Use Ethernet cables to connect each Raspberry Pi board to the Ethernet switch. Ensure all connections are secure. Connect the Ethernet switch to your router or a dedicated computer to control the network.
- Power up the Raspberry Pi boards: Plug each Raspberry Pi into the power supply. Use a power strip with USB ports if available to manage power cables efficiently. Turn on the power strip or plug in each power supply to boot up the Raspberry Pis.
- Organise the setup: Place the Raspberry Pi boards in a case or on a rack to keep the setup tidy. This helps in managing cables and maintaining airflow around the boards.
Software configuration
1. Install the Operating System:
- Download the latest version of Raspberry Pi OS (Lite version is preferred for headless operation) and use a tool like Raspberry Pi Imager to flash it onto each microSD card.
- Insert the microSD cards into each Raspberry Pi and boot them up.
2. Set up SSH for remote access:
- Enable SSH on each Raspberry Pi to allow remote access. You can do this by creating an empty file named ssh in the /boot directory of the microSD card before inserting it into the Raspberry Pi.
- Use an SSH client (such as PuTTY or Terminal) to connect to each Raspberry Pi. You will need the IP addresses of each board, which can be found using network scanning tools or by accessing your router's admin panel.
3. Update and upgrade the system:
- Once connected via SSH, run the following commands on each Raspberry Pi to update and upgrade the system:
- sudo apt update
- sudo apt upgrade -y
4. Set up hostnames and static IPs:
- Assign unique hostnames to each Raspberry Pi to identify them easily. For example, node1, node2, node3, etc.
- Configure each Raspberry Pi to have a static IP address by editing the /etc/dhcpcd.conf file. This helps maintain consistent network settings.
5. Install required software packages:
- Install the necessary software packages for managing the cluster, such as OpenMPI for parallel processing. Run the following command on each Raspberry Pi:
- sudo apt install -y mpi
6. Set up password-less SSH:
- Set up password-less SSH between all Raspberry Pi nodes to enable seamless communication. Generate SSH keys on the master node and copy them to all other nodes:
- ssh-keygen -t rsa
- ssh-copy-id pi@node2
- ssh-copy-id pi@node3
(Repeat for all nodes)
Testing and applications
1. Test the cluster setup:
- Once the hardware and software are configured, test the cluster by running a simple parallel computation. You can create a basic MPI program to verify that all nodes are communicating correctly.
- For example, create a simple ‘hello_world’ MPI program:
#include <mpi.h>
#include <stdio.h>
int main(int argc, char** argv) {
MPI_Init(NULL, NULL);
int world_rank;
MPI_Comm_rank(MPI_COMM_WORLD, &world_rank);
printf("Hello from node %d\n", world_rank);
MPI_Finalize();
return 0;
}
- Compile the program using mpicc and run it across the cluster:
mpicc -o hello_world hello_world.c
mpirun -np 4 --hostfile hosts.txt ./hello_world
3. Run practical applications
- Now that your Raspberry Pi supercomputer is set up and tested, you can run more complex applications. Potential applications include distributed computing tasks, machine learning model training, or simulations.
Optimise and expand
- Monitor the performance of your cluster using tools like htop or mpstat. Identify any bottlenecks and optimise your setup accordingly.
- You can expand the cluster by adding more Raspberry Pi boards and configuring them in a similar manner.

Featured products

MAX17793
Analog Devices Inc.
3V to 80V, 3A, High-Efficiency, Synchronous Step-Down DC-DC Converter
| SKU: | MAX17793 |
|---|---|
| Stock: | 9316 |
| Cost: | $3.64 |
MAX22516
Analog Devices Inc.

IO-Link Data Link Controller with Transceiver and Integrated DC-DC
| SKU: | MAX22516 |
|---|---|
| Stock: | 8000 |
| Cost: | $5.42 |
Product Spotlight
102991834
BeagleBoard

Single Board Computer (SBC), BeagleY-AI
AM67A BeagleY-AI Jacinto 7 AR...
| SKU: | 2820-102991834-ND |
|---|---|
| Stock: | 162 |
| Cost: | $57.89 |
SC1110
Raspberry Pi
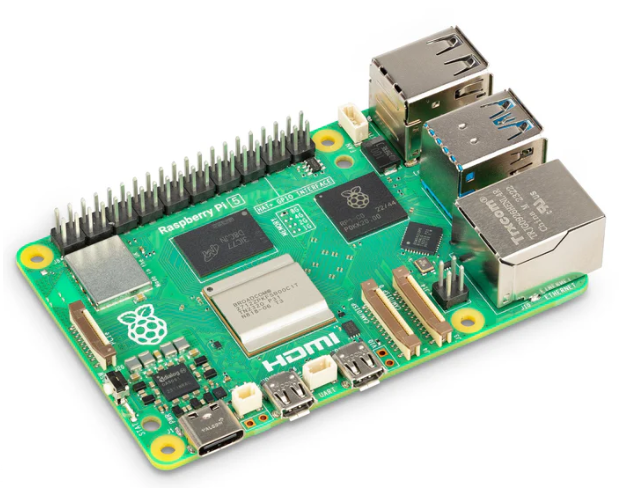
Raspberry Pi 5 2GB
The Raspberry Pi 5 2GB model represents a leap for...
| SKU: | 2648-SC1110-ND |
|---|---|
| Stock: | 43 |
| Cost: | $38.33 |
AKX00069
Arduino
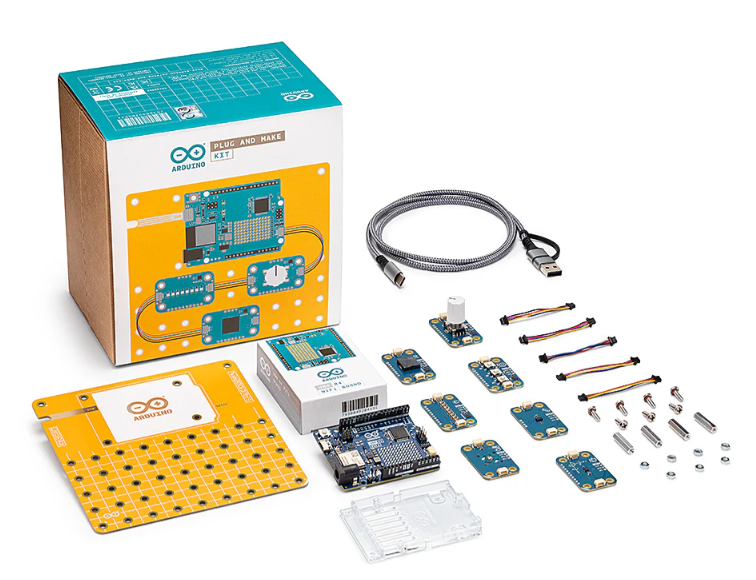
Arduino Plug and Make Kit
The Arduino Plug and Make Kit features the ...
| SKU: | |
|---|---|
| Stock: | 876 |
| Cost: | $66.97 |
300361-0011
Molex

MX150 Mid-Voltage MatSealed Female Connector Assembly, Dual Row, 20 Circ...
| SKU: | |
|---|---|
| Stock: | 280 |
| Cost: | $2.51 |