Build your own Alexa Smart Speaker with Raspberry Pi
Despite privacy and data storage worries, Alexa smart speakers are becoming ever more popular with thousands of Brits using them every day. From simple tasks like playing songs and adding items to shopping lists to more advanced requests like controlling the home’s temperature, an increasing number of us are using voice assistants to make life that little bit easier. But can you use Alexa without buying the smart speaker?
The simple answer is yes!
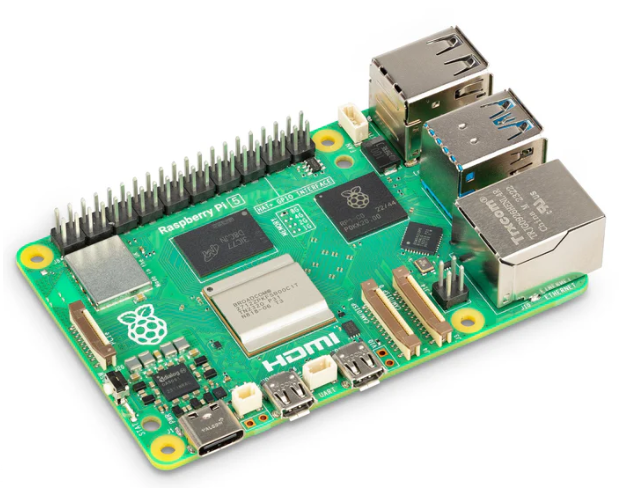
All you need is a Raspberry Pi 2 (or above), an SD card, a microphone, a speaker and to follow the instructions below, then you’re ready to go.
Set up Raspberry Pi and find out IP address
If you already know the IP address of your RPi, you can skip this step. If this is not the case, you can download the current operating system from the RPi website.
To begin with, start your RPi and open the terminal before entering the following command: ifconfig
Now you can read the IP address as shown below which you should make a note of as it will be needed later.

Set up an Amazon Developer account and Security Profile
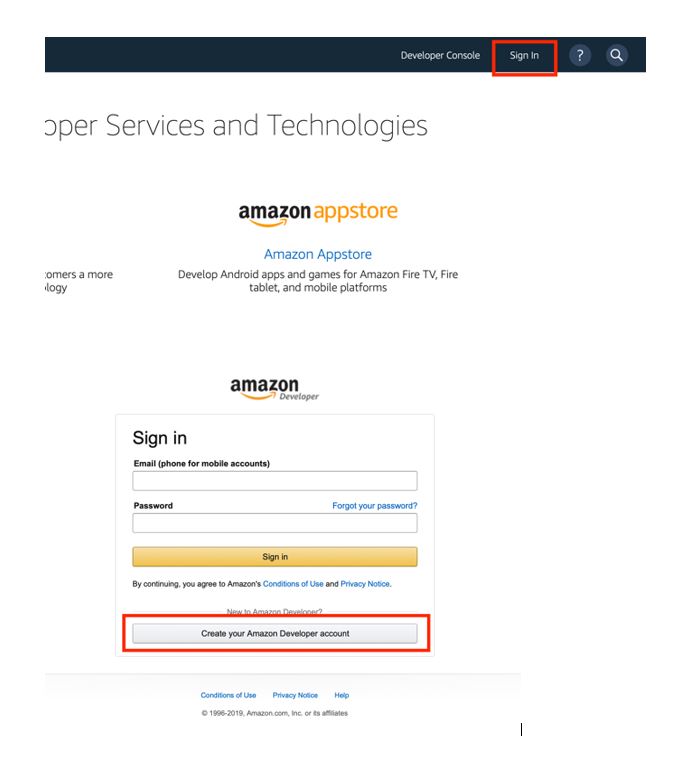
Before you continue with the RPi, you need an Amazon Developer account to install Alexa’s smart assistant capabilities. To do this, open the following page: https://developer.amazon.com, click on “Sign In” and “Create Your Amazon Developer `Account” at the bottom.
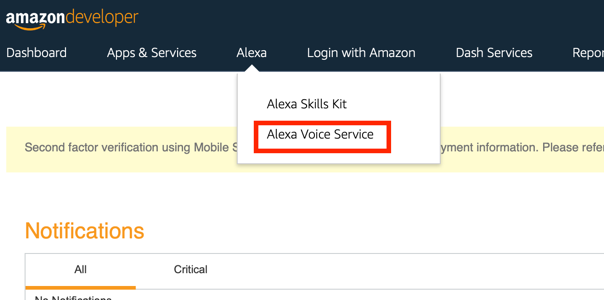
After creating the account, log in and create a Security Profile. To do this you need to go to the Alexa tab, then to Alexa Voice Service and then to Get Started. On this page, go to Products then Create Product where you will see a form that you have to fill out.
Fill in the empty fields as followed:
- Product name: AlexaPi
- Product ID: AlexaPi
- Select: Device with Alexa built-in
- Select: NO
- Product category: Smart Home
- Letter product description: RaspberryPiAlexa
- Choose: Hands-free, Far-field
- Here you can upload a picture (optional)
- For the remaining questions, select: NO
Click Next to confirm.
Now you can create your personal Security Profile using the following inputs:
- Security Profile Name: AlexaPi
- Security Profile Description: AlexaPi
- Copy the three ID´s and save them in a .txt file as this will be useful later.
- NEXT
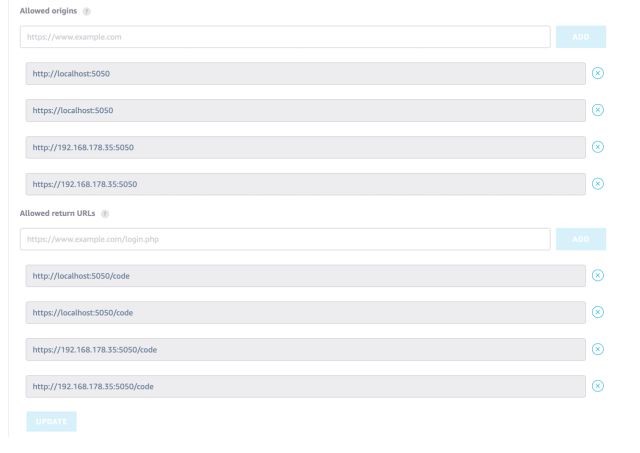
If you scroll down, you will find Allowed origins and Allowed return URLs. To fill these lines, you need the IP address of your RPi which you made a note of earlier. Now add the URLs listed one after the other so it looks like the image below.
For Allowed origins:
- https://<<< your.ip address >>:5050
- http://<< your.ip-adresse >>:5050
- https://localhost:5050
- https://localhost:5050
For Allowed return URLs:
- https://<<< your.ip address >>:5050/code
- https://<<< your.ip address >>:5050/code
- https://localhost:5050/code
- https://localhost:5050/code
Under Capabilities, check the boxes for Names Timers and Reminders and Display Cards (with Text) and move onto the installation.
Starting the installation
Before you start installing Alexa, you should copy the previously saved text file with IDs to the Pi.
To do this, open the terminal on the RPi again and enter the following commands:
- First we have to go to the /opt directory: cd /opt
- Download git: sudo apt-get install git
- Now copy the AlexaPi folder from the Github: sudo git clone https://github.com/alexa-pi/AlexaPi.git
- Installation: sudo ./AlexaPi/src/scripts/setup.sh
Then follow the instructions in the terminal.
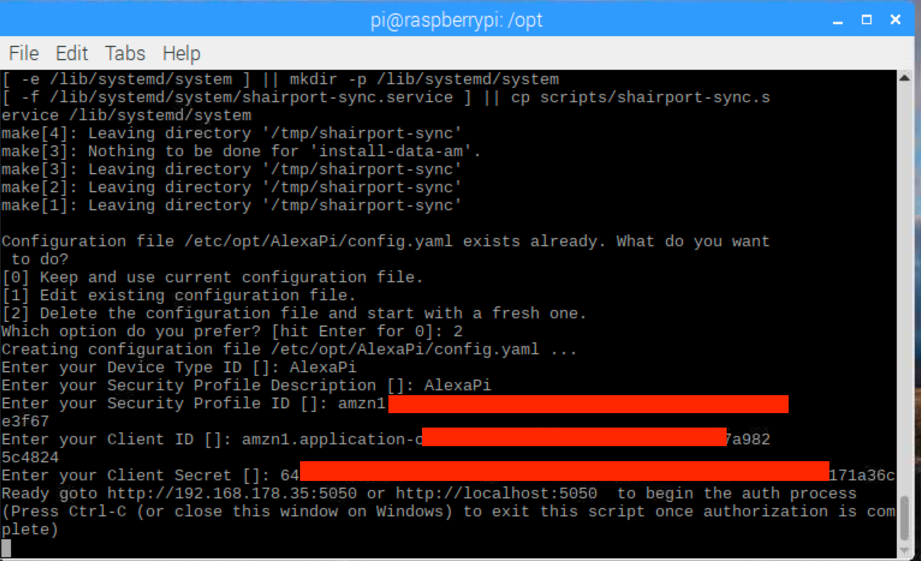
Before the end of the installation you will be asked for the Device Type ID and Security Profile Description, to which you have to answer both with AlexaPi.
Then the terminal will ask for Security Profile ID, Client ID and Client Secret. Simply copy the IDs from the text file and press enter to confirm.
Next, open your browser on your PC and enter the URL in the URL bar:
https://<<<your.ip-address>>:5050
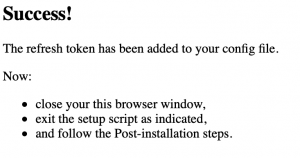
Then click on allow and select your country in the next step for Success!
The Final Stage
Before you can talk to Alexa, you need to plug the speaker and microphone into the RPi. To get audio through the 3.5mm jack plug, you need to do one more step:
Enter sudo raspi-config into the terminal. Select Advanced Options, then Audio and finally Force 3.5mm(´headphone´) jack. Confirm with OK and restart the Pi.
Once it’s booted back up, Alexa welcomes you with “hello” and you have your fully functional Alexa smart speaker, powered by the amazing Raspberry Pi computer.

