5 steps to accelerate your project with BSP porting
When choosing embedded hardware for a new product, there is a bewilderingly wide range of choices. However, navigating your way through the sea of CPU options and OS choices can be much simpler with these five steps in the vital skill of Board Support Package (BSP) porting.
The BSP contains the code to support the chosen device motherboard and map it onto whichever OS is required. It’s essential in bringing the various elements of the product together, but is sometimes overlooked until a later stage. However, many silicon vendors have recognised that the start-up software they offer is now just as important as the hardware.
ByteSnap Design offer these five BSP porting hacks to help accelerate your development project:
1. Survey the embedded CPU landscape
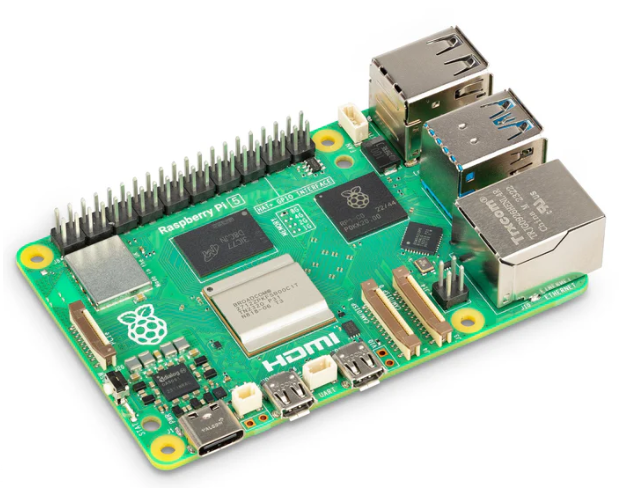
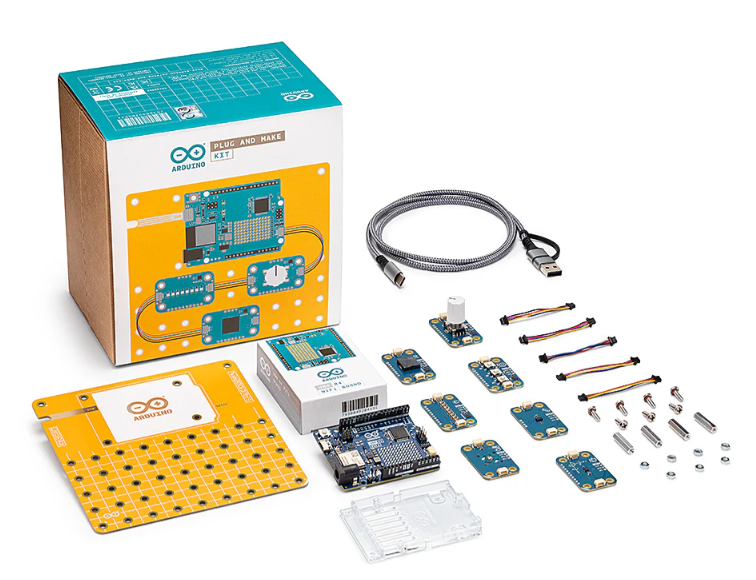
CPU silicon vendors provide example boards of their feature-rich chips for customers to try out and base their design on. These examples, called reference boards for the hardware and reference BSPs for the software, are an ideal place to start when developing a fully bespoke system. Normally, all software and hardware source design files are available and these are modified for the target design.
The complexity comes when - as is usually the case - the end product needs just a subset of the full CPU feature-set, perhaps not all four SD card interfaces are needed, for example. This leads to electronics designers modifying the original functionality and adding new items such as motor control, power supplies, sensors, input and output devices of varying types. Needless to say, this customisation process can be complex.
CPU modules are available which contain the group of core components from the reference board: CPU, RAM and flash chips on a daughter card which plugs into a simpler baseboard with the connectors and other support chips. These are used to create bespoke hardware for embedded systems with faster turnaround than a fully bespoke board.
As the less complex board is easier to design, this takes risk out of the hardware and reduces design time. In these cases, the module vendor will provide a BSP which will be based on the original CPU vendor’s BSP and will normally be production hardened.
Some vendors spend more effort ironing out issues than others - so it’s worth looking in detail before assuming they are all the same. Cost is also a factor here, with better modules charging a premium.
2. Check your bootloader
Whichever option is chosen, changes will be required to the stock software, and the first step is to focus on the bootloader.
Bootloaders are responsible for setup of the platform to allow the OS to run; they configure memory and block devices such as eMMC/SD/NAND Flash, download the Kernel/OS and jump to it. For many target designs, there will need to be some changes to these primary tasks as a device is not available or substituted for another, NAND and RAM chips typically require modifications to accommodate changes. Without these, the platform will not start.
Although there are regularly requirements to customise the bootloader, for example with splash screens, running a backup OS image in the event of failure or restoring backup images, it’s worth bearing in mind the limitations of a bootloader - there’s no OS present, so components that require large support stacks to function aren’t accessible - and checking if the customisations are worth the effort to implement at this stage. Security here is a key concern, as most bootloaders support insecure and secure modes of operation, so choosing the most appropriate here is vital.
3. Configure the kernel / OS
Once all the bootloader changes are in place to configure the hardware and launch the OS, the next steps in the BSP porting process are the configuration of the OS itself. Linux and Windows Embedded both have a large catalogue of components that can be added to the OS image.
Adding components may slow down boot and could compromise security, so it is important that only those which are essential should be included. All components should have a clearly defined purpose in the end product. Android has a standard list of components that are required by the OS for it to function and normally this isn’t deviated from.
Removing non-essential drivers will reduce boot times, image sizes and reliability. Remember that new hardware components will need driver/configuration changes or new drivers to support them.
4. Test endlessly!
The level of testing should be tailored to the device and it’s use case, but usually consists of tests for the ruggedness of the OS booting and filesystem integrity; confirming that all drivers are loading consistently on each boot, running or exercising all drivers simultaneously, ensuring there are no performance glitches and many other checks. This should be done on a number of devices, some running automated tests others more realistic end user scenarios. The more testing time the higher quality the product!
5. Plan support in advance
Depending on the device’s use case, accessibility may be an issue, so plan how - and indeed if - OS updates, bug fixes and driver improvements will be disseminated. If these updates are essential then the ability to rollback may also be required, which can be an additional provisioning complexity.
Clearly, correctly choosing which CPU platform to use as a starting point, and recognising its limitations in terms of both hardware and software, will save considerable amounts of time and cost in development. By following these five key points on BSP porting, product development will inevitably be faster and more effective.
The next stage in the process is to develop the application and the user interface, and this can also be streamlined. At ByteSnap, we’ve built a UI development framework, SnapUI, to help developers build graphically complex applications for embedded devices, before porting to the target hardware, and using reference boards.
Read the full original article here.

